How to Choose a Backsplash for a New Countertop in Lexington
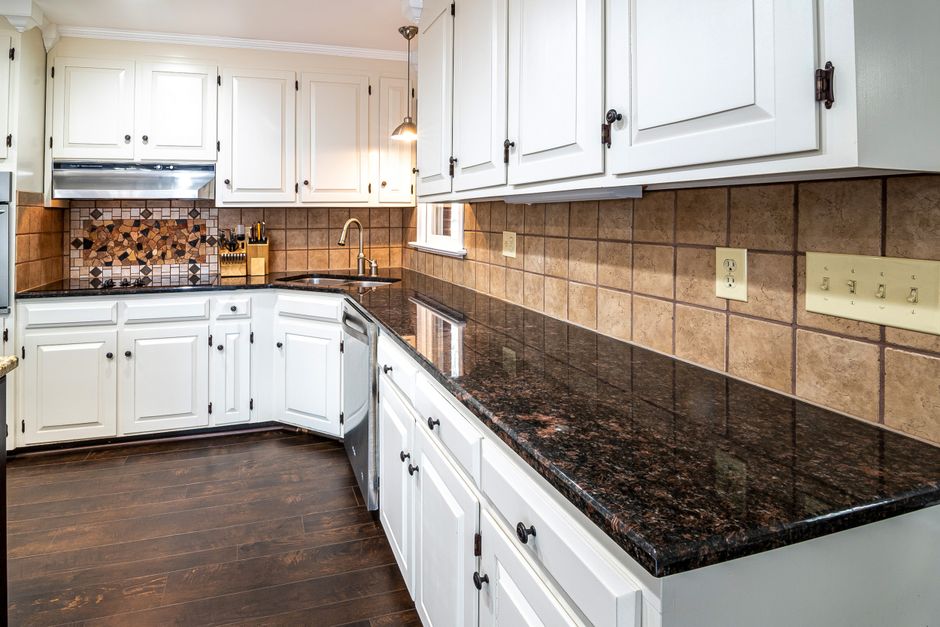
A backsplash that works with a new countertop starts with the actual slab, a few real tile samples, and a decision about timing. In a Lexington kitchen, the walls, the water, and the light all affect how the pair looks once everything is installed. Here is how to work through the choice in the order that avoids regrets.
Start With the Real Slab, Not the Catalog
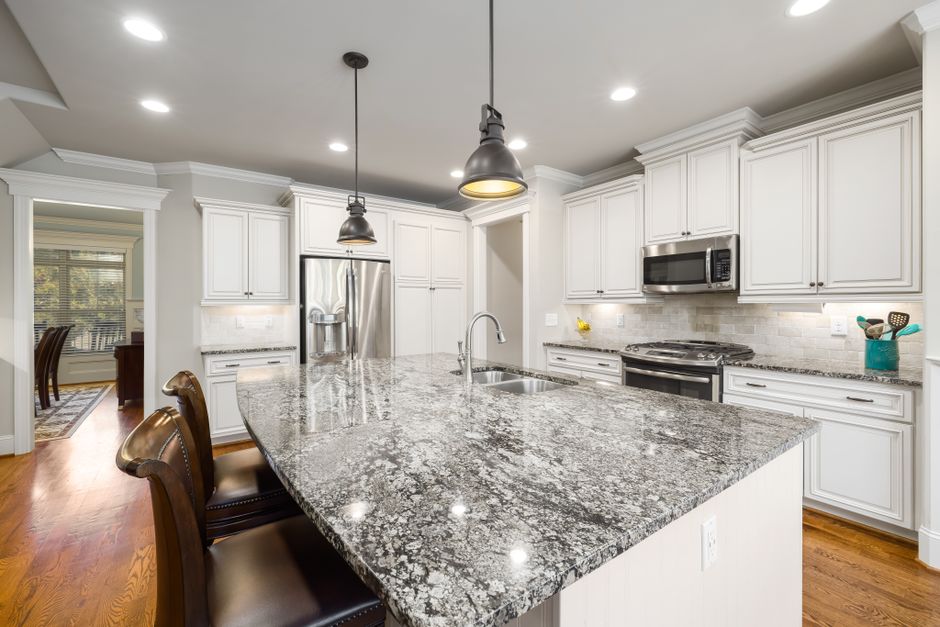
Slabs vary far more than tile does. Two pieces sold under the same name can differ in veining, background color, and flecking. Ask the fabricator for an offcut or a clear photo of the specific slab set aside for your kitchen, then shop for tile against that.
Coordinating does not mean matching. A backsplash that copies the countertop exactly often looks flat or slightly off. Tones that relate, with a deliberate difference in pattern or texture, tend to look better.
Let the Busier Surface Lead
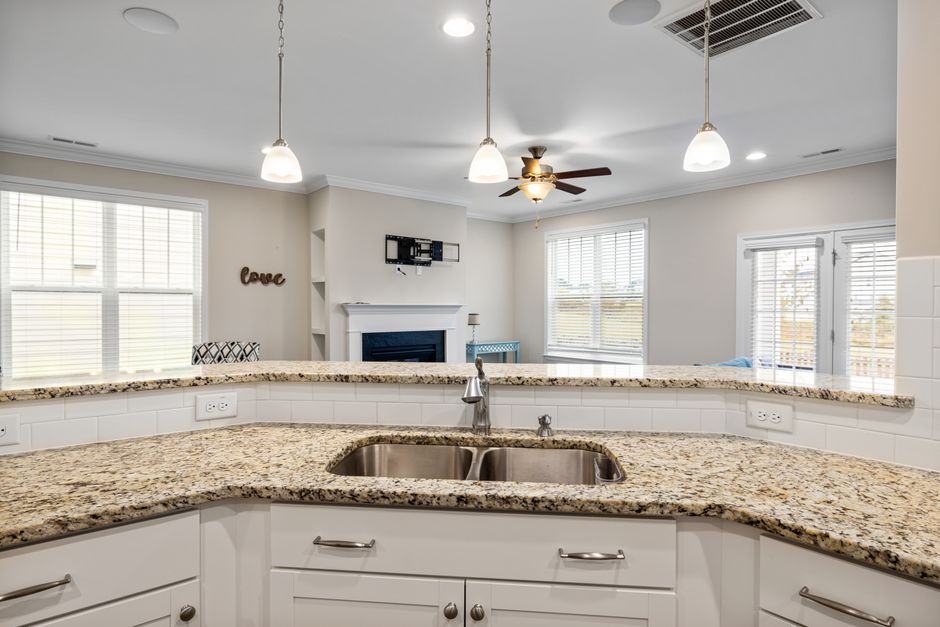
Decide which surface is the star. Granite or quartzite with heavy movement, or engineered stone such as Cambria with bold veining, usually looks best with a plain or lightly textured tile. A quiet, evenly flecked countertop leaves room for patterned, colored, or handmade tile.
Two loud surfaces side by side compete. One calm surface gives the eye somewhere to rest.
Compare Undertones, Not Color Names
White is not a safe neutral. A white tile can lean warm, toward cream or yellow, or cool, toward blue or gray. Set it next to a white or cream slab with the opposite lean and the clash is obvious.
Hold the tile directly against the slab and look at it in morning daylight, in the evening, and under the bulbs you actually use. Warm and cool bulbs can make the same pair look matched or mismatched.
Decide on a Full Height Slab Before Templating
If a stone backsplash running up the wall appeals to you, settle it before the countertop is templated. The fabricator has to plan it from the same slab so the veining and color carry upward. Decide afterward and the extra pieces may come from a different slab that does not match.
Full height slab also has a practical catch in older homes. Plaster walls in neighborhoods such as Chevy Chase, Ashland Park, and Kenwick are often wavy or out of square, and many mid century ranches have settled over the years. A rigid slab shows tapered gaps against an uneven wall unless it is carefully scribed. Small format tile forgives a wavy wall far better.
Think Twice About a Short Splash With Tile Above
A standard short stone splash with tile stacked above it adds a horizontal line and one more joint to maintain. Many designers either run tile straight down to the countertop or go full height in stone. Either choice looks cleaner than a split.
Match the Finish to Lexington's Water
Lexington sits on limestone, and local water tends to leave mineral spots. Dark glossy tile and glass behind the sink and faucet show those spots quickly. Matte finishes and mid tones hide them better between wipe downs.
Glass tile has its own requirements. Because it is see-through or translucent, the installer needs a white setting material made for glass, spread evenly, or trowel lines will show. Cut edges are sharp and should be finished or hidden with trim.
Choose Grout by the Slab's Background
Pick the grout color from the slab's dominant background, not its accent flecks. Grout that matches the background makes the backsplash read as one surface. Very light grout behind the range or sink stains visibly.
Standard cement grout is porous and absorbs grease and food. Epoxy or other high performance grouts resist staining better in splash zones, though they are harder to install neatly and suit a skilled installer. Even epoxy is stain resistant, not stain proof, and no grout is waterproof.
Know Your Material's Weak Spots
Marble and other calcite stones
Lemon juice, vinegar, tomato, and some cleaners etch marble and limestone, dulling the polish. Sealing does not prevent etching. A honed finish shows it less if you want a stone backsplash.
Natural stone and cement grout
These absorb liquids. A penetrating sealer slows that down. Apply it after installation and reseal on the schedule the product label gives. Kitchens with heavy cooking may need it more often.
Heat at the range wall
Engineered stone and solid surface material, including brands such as Corian and Avonite, can discolor or crack under sustained high heat. Neither is heatproof. Follow the range manufacturer's clearances for the back wall, especially behind gas burners and freestanding ranges with no backguard.
Butcher block
Wood swells in humid Kentucky summers and shrinks in dry, heated winters. Keep a flexible sealant joint where tile meets a butcher block countertop, and never lock the wood tight against tile or stone with grout.
Get the Order of Work Right
The sequence matters as much as the selection:
- Choose the slab, then the tile.
- Decide on full height stone before templating.
- Mark outlet and switch locations at templating.
- Set and secure the countertop.
- Prepare the wall and install the tile.
- Seal porous materials and finish the joints.
Tile goes on after the countertop is set, because it sits on top of the counter surface. Tiling first leaves an uneven gap and risks damage while the counter goes in.
Handle the Joints and Edges
Leave a small gap where tile meets the countertop and fill it with flexible sealant, not grout. The counter and the wall move independently, so grout there cracks and lets water in. The same goes for inside corners and where tile meets a kitchen cabinet. Flexible joints do not last forever. Check them and replace them when they crack, peel, or discolor.
Plan where the tile stops, too. It might end at the upper cabinets, run to the ceiling, or wrap a window. Bullnose pieces, a metal edge trim, or a finished stone edge keep raw tile edges out of sight. Unplanned endings are among the most common amateur looks.
Plan for Outlets and Wall Prep
Tile adds thickness, so electrical boxes may need extenders for cover plates to sit flush and secure. A slab backsplash needs precise outlet cutouts made by the fabricator, which is why locations get marked at templating.
Prepare the wall before any tile goes up. Remove loose paint and failed patches, and repair soft or damaged drywall behind the sink. Tiling over old tile is possible only if it is sound and well bonded, and the added thickness affects outlets, window trim, and the joint at cabinet sides. A tile job cannot be better than the wall under it.
Mind the Light and the Lippage
Under cabinet lighting shines across the wall at a low angle and exaggerates uneven tile edges and texture. Handmade or wavy tile casts small shadows, which can be the point. For a flat, even look, choose rectified tile and a flat wall.
Keep Cooking Moisture Under Control
Lexington summers are hot and humid, and a kitchen without a range hood vented outdoors collects steam and a grease film on the backsplash and grout. A working, ducted hood keeps any backsplash cleaner and helps sealers last.
Leave the Cutting of Engineered Stone to the Fabricator
Engineered stone is high in silicon dioxide. Dry cutting or grinding it releases fine crystalline silica dust that can cause silicosis. Matching backsplash pieces, sills, and cutouts should be left to the fabricator, who should cut wet with proper dust controls.
Buy Once, Then Test
Buy all the tile from one production lot, since color and size can shift between batches. Order enough for the job plus overage for cuts and breakage, and store a few spares for future repairs.
Before committing, do a dry mock up. Lay a row of the real tile with a grout gap on the installed countertop, against the wall, and look at it for a day or two at different times. It is the cheapest moment to change your mind, and it often settles the choice faster than any sample board.